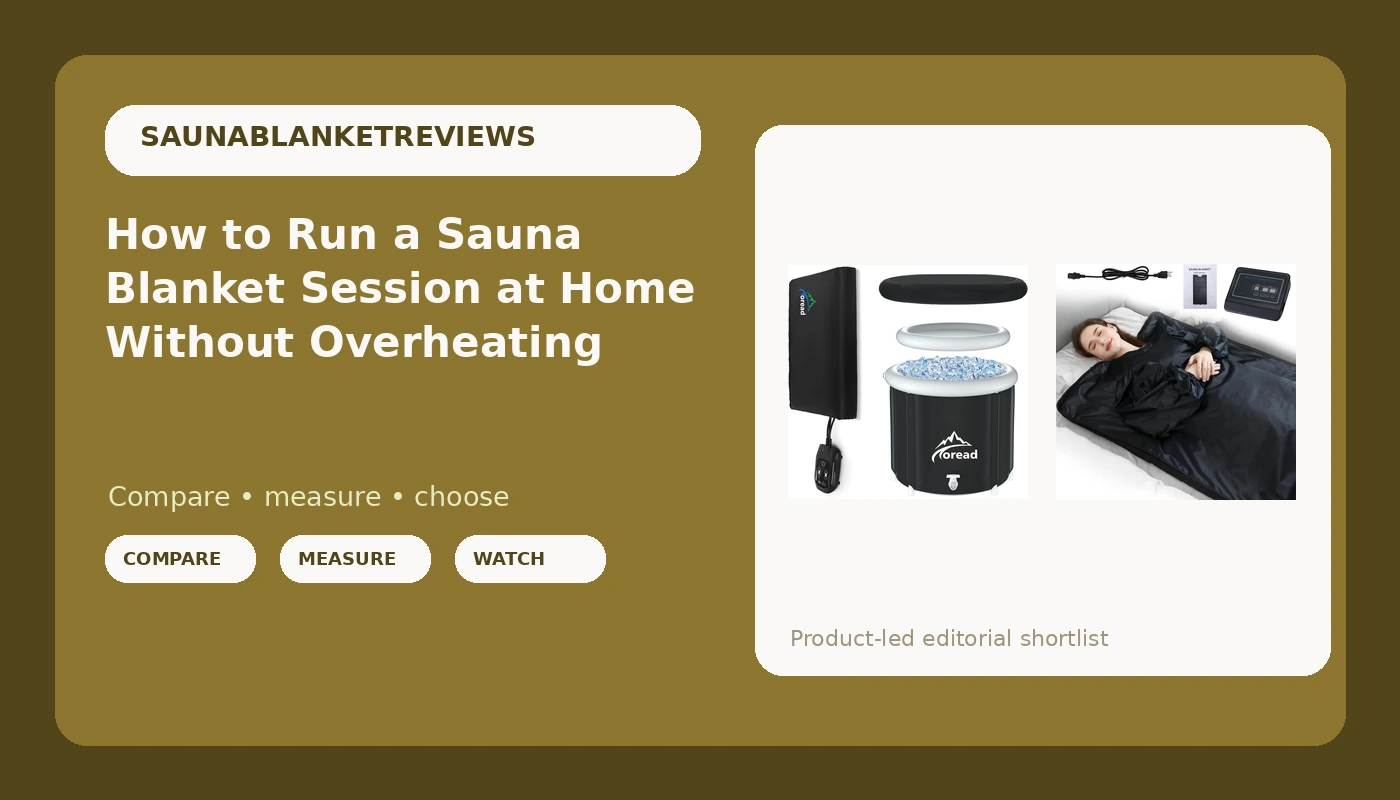
Most people who buy a sauna blanket are quietly disappointed in week one, and it is almost never the blanket's fault. They climb in expecting a cedar room with steam and a wooden bucket, and they get a heated mat with a zipper. Once you stop grading it against a real sauna, a portable sauna blanket session becomes one of the most repeatable recovery tools you can own, and you can run it in the twenty minutes before bed instead of driving to a gym.
I am a recovery coach in Boulder, Colorado. I work mostly with CrossFit athletes and weekend warriors who want a recovery window they can actually hit on a Tuesday night, not a spa appointment they booked three weeks ago. A sauna blanket fits that life. It is heat therapy on a couch, and if you treat it that way, it delivers.
This guide is the setup and the protocol I hand clients before their first session: how to prep the blanket, how to ramp temperature without cooking yourself, what the timer is really for, how to clean the thing without wrecking the zipper, and the specific signals that mean get out now.
Why you should trust me
I have run nine sauna blankets through the same boring routine since 2022. Preheat, 20 to 30 minutes at a set temperature, weigh myself before and after, log the sweat loss in grams, log resting heart rate, then log how long it took me to fall asleep that night. I am six months into a self-experiment on whether 20-minute sessions four times a week move sleep onset, and the logbook is the only reason I can say anything honest about it.
Two lessons came out of that log. The zipper is the failure point, not the heating element. I have killed two blankets at the zipper and zero at the element. And the temperature dial is not a safety device. The timer is. I will not recommend a blanket without auto-shutoff, and I have a small scar on my forearm from a cheap unit that had a dial and no timer and a beep I could not hear from the next room.
I also do not sell detox. The claims I will defend are narrow: heat shock proteins, circulation, and for a lot of people, an easier time falling asleep. Claims about flushing toxins or burning fat in a blanket are marketing.
How I picked and how I tested
I am not ranking blankets here. This is the how-to, and the two units below are the ones I keep in rotation for clients. Everything in the protocol assumes a blanket with a real timer and a remote you can reach without sitting up.
The test is the same for every unit. I lay it flat on a bed, preheat it, run a session, and watch four things. Heat distribution: does my chest feel the same warmth as my feet, or does the heat pool in the middle of my back? Timer behavior: does it shut off when it says it will, and does the remote work through a folded layer? Zipper: does the pull glide, or does it catch fabric on the way up? Smell: does it off-gas for a week, or is it neutral by day two?
Even heating matters more than max temperature. A blanket that hits its top number across your chest and leaves your feet cool is a broken product at any setting. If you take one buying rule from this guide, take that one. The second rule is that a temperature dial without an auto-shutoff is a burn risk, full stop.
What you need before your first session
Four things, none of them expensive. A flat surface, because a blanket bunched on a couch heats unevenly. A cotton towel to lie on, so you are not washing the blanket after every session. Water within arm's reach. And a cool room or a cool shower to step into when the timer ends.
The blanket itself is the only real purchase. Here are the two I would point a client toward.
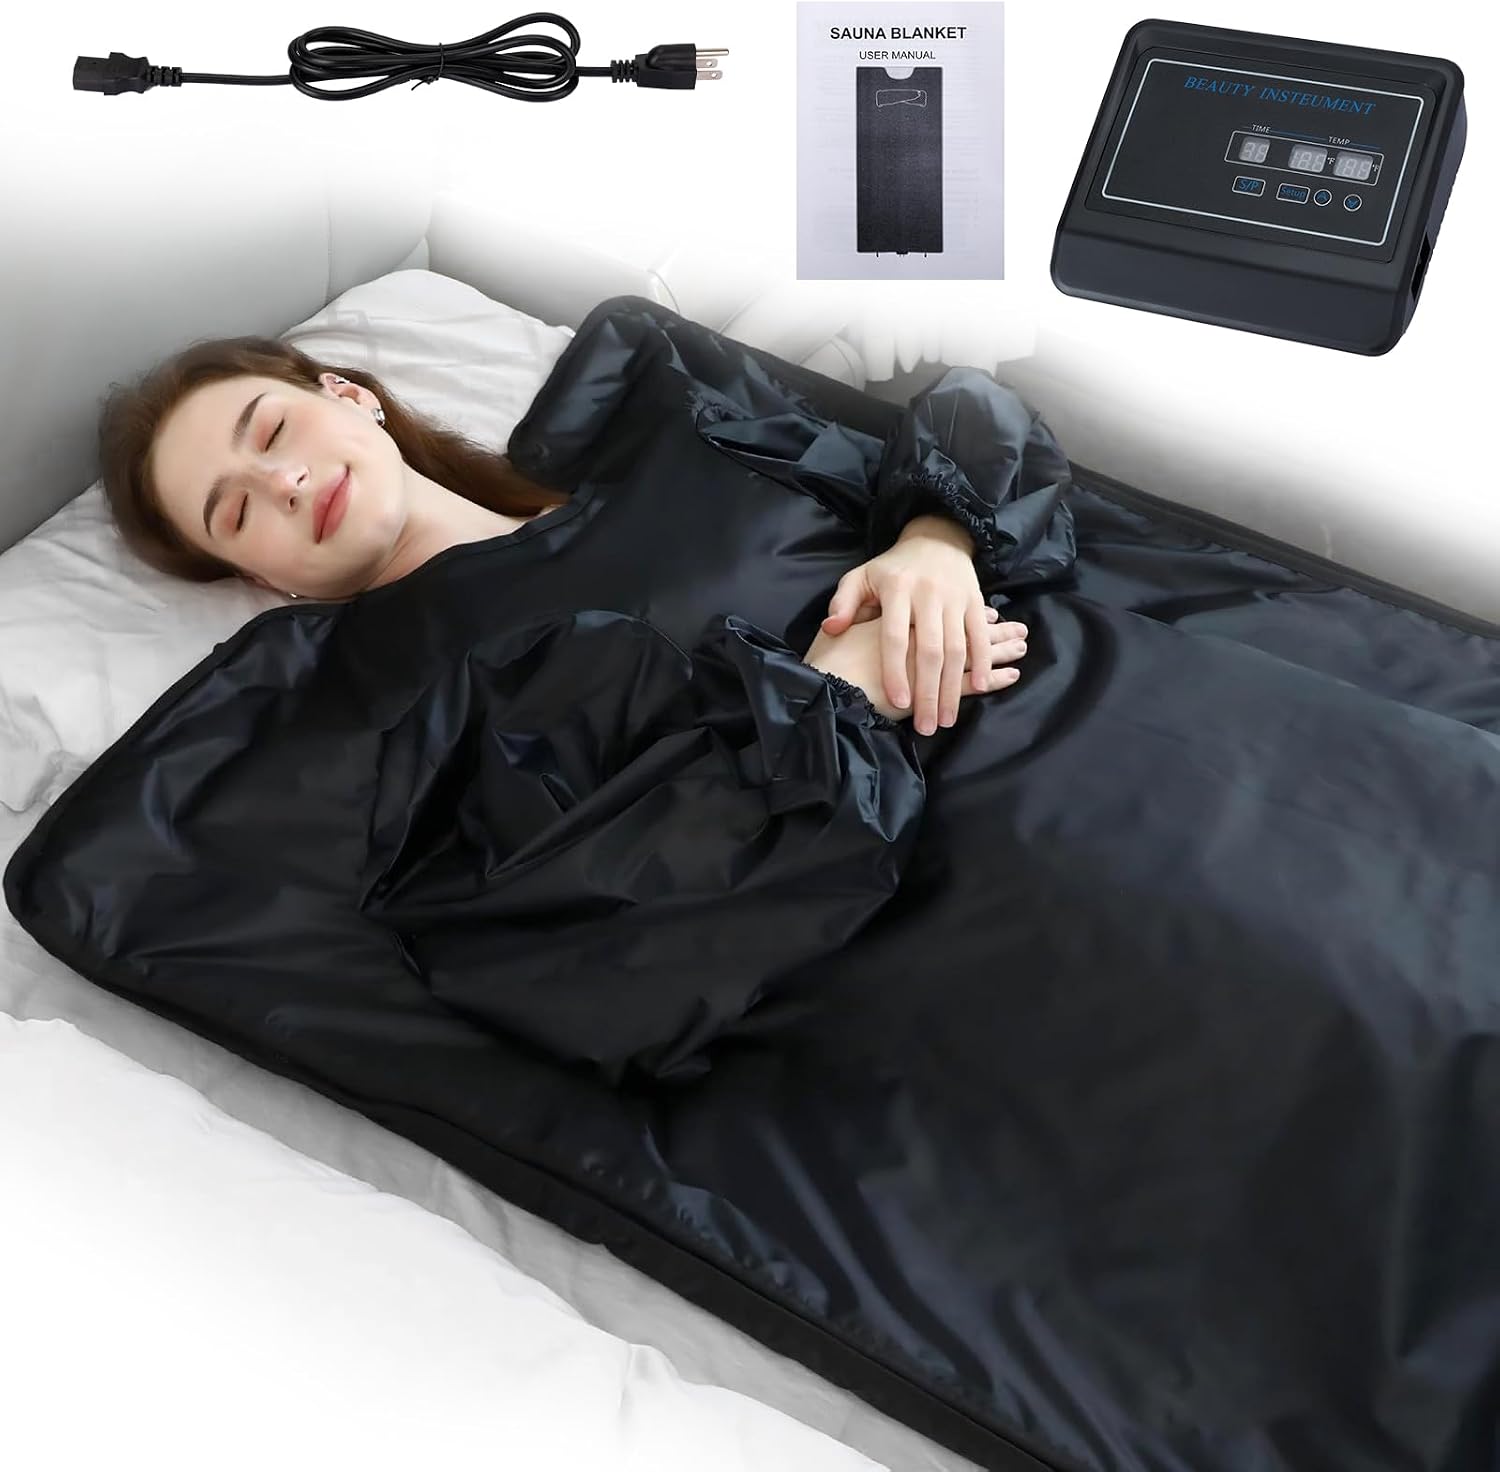
Our pick: Lcoco&Dream Portable Sauna Blanket for Home, Double Sided Temperature 90-180℉, 30-90 Minute Timer with Remote, Foldable Washable Design and Storage Bag, 6 x 3 FT
 Visit on Amazon →
This is the one I hand to someone buying their first blanket, mostly because the timer range covers the entire protocol. Thirty minutes for the first month, then longer sessions later if you tolerate heat well, all the way to 90 minutes if that is your thing. The double-sided heating means the heat comes from above and below instead of one side, which is the difference between a session that feels even and one that feels like a heating pad on your spine.
The remote matters more than the spec sheet suggests. Being able to drop the temperature or shut the unit off without unzipping and sitting up is the difference between a session you finish and a session you bail on. Foldable and washable is the other thing I care about, because sweat goes somewhere and a blanket you can clean is a blanket you keep. It folds into the storage bag and lives in a closet.
Flaws but not dealbreakers: It is a blanket, not a system. If you want cold contrast after heat, you are buying a second product. The foldable build also means you should give it a flat, firm surface rather than letting it bunch on a soft couch.
Anyone who wants one purchase, one device, and a session they can run before bed should start here.
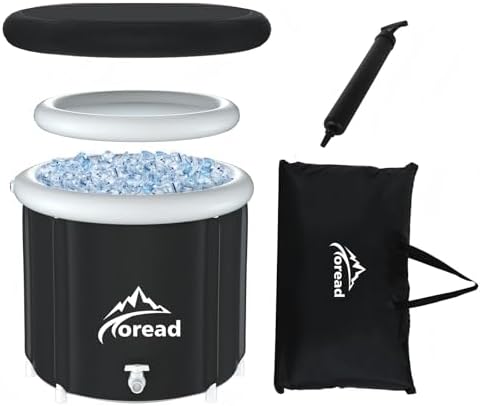
Upgrade pick: TOREAD Sauna and Cold Plunge Combo, Far Infrared Portable Sauna Blanket with Remote Control, Adjustable Temperature and Portable Ice Bath Tub, 87gal Portable Cold Plunge Tub with Carry Bag
 Visit on Amazon →
This is the one for people who already know contrast therapy is their thing. You get the far infrared blanket with remote and adjustable temperature, plus an 87-gallon portable cold plunge tub with a carry bag, in one purchase instead of two decisions. Heat then cold is the recovery window I write into athlete programs, and having both pieces at home means you can actually run it instead of talking about it.
The tub is the part that separates this from every blanket-only option. A cold plunge after a heat session is a different stimulus than heat alone, and if you have been paying per visit for cold exposure somewhere else, the math on owning the tub is the reason to look at this combo.
Flaws but not dealbreakers: Two pieces to store, and a tub means filling and draining, which is a genuine chore in a condo or an apartment with one bathroom. The blanket half is also a bigger commitment than the single-blanket route, so buy this only if you are sure you will use the cold side.
One serious caveat, and I mean this: cold plunge is not for everyone. If you have a heart condition, uncontrolled blood pressure, are pregnant, or have Raynaud's, talk to your doctor before you get in cold water. I refer clients to physicians for that conversation, not to a blog.
The session protocol, step by step
This is the sequence I give every client. It works on any blanket with a timer.
Step one: Prep the space. Lay the blanket flat on a bed or a firm couch, not on the floor unless you put a mat under it. Lay a cotton towel inside where your body goes. The towel catches most of the sweat, which means you are wiping down a blanket weekly instead of washing it after every session.
Step two: Preheat for 10 minutes. Get in a cold blanket and you will spend the first ten minutes waiting for heat instead of getting it. Turn it on, set your temperature, walk away, come back when it is warm.
Step three: Drink water before, not during. A glass of water 20 minutes before you zip in is the right move. Lying flat and chugging from a bottle is awkward, and you want to be hydrated going in, not catching up mid-session.
Step four: Start low and ramp slowly. For your first three sessions, use the bottom of your blanket's range. Stay there for 10 to 15 minutes and get out. Add a small step, roughly five to ten degrees, every few sessions as you tolerate it. Chasing the maximum number on day one is how people end up dizzy on the bathroom floor.
Step five: Set the timer and respect it. Thirty minutes maximum for the first month. The auto-shutoff is not a suggestion, it is the safety feature, and overriding it because you feel fine at minute 35 is exactly how a burn happens. Set it, and get out when it ends.
Step six: Get out early if your body says so. Dizziness, nausea, a headache, a racing heart, or suddenly feeling chilled are all signals to stop. Feeling chilled inside a heated blanket is a strange one and it is real. Unzip, sit up slowly, and cool down.
Step seven: Cool down for 5 to 10 minutes. Sit in a cool room, take a lukewarm shower, or use a cold plunge for one to three minutes if you have one and you are cleared for cold exposure. Going straight from a hot blanket into a hard cold plunge without building tolerance is a bad first week.
Step eight: Log it. Weigh yourself before and after and write the number down. Note the temperature, the duration, and how you slept that night. The log is what tells you whether 20 minutes four times a week is doing anything for your sleep onset, and no marketing page can tell you that about your own body.
Cleaning and storage without killing the zipper
Unplug the blanket and let it cool completely before you touch it. Folding a warm blanket traps moisture in the layers, and trapped moisture is where the chemical smell comes from and stays.
Wipe the interior with a damp cloth and a little mild soap, then let it air dry fully, inside and out, before you fold it. If the manufacturer says the cover is removable and machine washable, follow the tag exactly. Never submerge the blanket or the controller in water, and never spray cleaner directly onto the heating element or the control unit.
Zip the blanket closed before you fold it. That single habit is the reason my current blanket has outlasted two others. Open zipper teeth grab fabric when you fold and unfold, and once a pull starts catching, the slide wears and the zipper is done. Store it loose in the storage bag rather than compressed under a bed, and keep it away from anything sharp.
Where people go wrong
They chase maximum temperature. Even heat beats peak heat. If your feet are cold and your chest is roasting, turn the blanket down and give it longer, or accept that the unit has poor heat distribution.
They buy a dial with no timer. I have said it three times in this article on purpose. A dial without auto-shutoff is a burn risk, especially for anyone who might doze off.
They expect a sauna. There is no steam, no ritual, and no community in a blanket. What you get is heat therapy with a zipper, on your schedule, in your living room. That is the honest trade.
They believe the detox and weight loss copy. Session weight loss is water. The scale moves, the fat does not. The benefits worth paying for are recovery and sleep.
They skip the doctor conversation. Pregnancy, heart conditions, blood pressure medication, diabetes with reduced sensation in the feet, open wounds, and any condition that affects how you sense heat all need a physician's input first. Reduced sensation plus a hot blanket is how people get burned without noticing.
They fall asleep inside it. The timer exists so you do not have to trust yourself at minute 40.
What this all costs
Check current Amazon price on both units. The single blanket is the entry point, and the combo with the cold plunge tub is the bigger commitment because you are buying two recovery tools at once.
Beyond the hardware, the ongoing cost is a towel, water, and electricity. Compare that to what you would pay per month for sauna access at a gym, then compare it to the number of times you actually drove there last winter. The blanket's whole advantage is that the session is fifteen feet from your bed, which is why it gets used four times a week instead of once a month.
Do the math on your own habit, not on the sticker. A recovery tool you use is cheap. A recovery tool you admire on a shelf is not.
The short version
Flat surface, cotton towel, preheat ten minutes, start at the bottom of the temperature range, set the timer to 30 minutes and never override it, get out when it ends, cool down for five to ten, and write down the numbers. Clean it cool, dry it fully, zip it closed before you fold it.
That is the whole protocol. It is not complicated, and it is not a sauna. It is heat therapy you can run tonight, and for a lot of people that is the difference between a recovery habit and a good intention.